Blog
Acrylic to Wood: The Ultimate Guide for Beginners (and Beyond!)
The versatility of acrylic has captured the hearts of crafters and DIY enthusiasts everywhere. But what if you want to incorporate the beauty of acrylic with the warmth of wood in your next project? This guide dives deep into the world of acrylic to wood, empowering both beginners and seasoned crafters to achieve stunning and long-lasting results.
Why Choose Acrylic Glue for Wood
While various adhesives can bond wood to wood, acrylic glue offers some distinct advantages. Its fast-curing nature makes it ideal for projects where quick assembly is desired. Additionally, acrylic glue creates a clear bond, which is crucial for preserving the aesthetics of exposed wood elements in your acrylic to wood creations. Furthermore, unlike some glues, acrylic glue doesn’t emit strong fumes, making it a more user-friendly option for indoor crafting projects.
Choosing the Right Acrylic Glue
Not all acrylic glues are created equal. For acrylic to wood applications, a specific type of instant acrylic glue is recommended. These glues are formulated to provide a strong bond between dissimilar materials like wood and acrylic. Look for labels that explicitly mention suitability for “porous surfaces” like wood. It’s also wise to consider the viscosity, or thickness, of the glue. Thicker glues offer better gap-filling capabilities, which can be helpful for uneven wood surfaces.
Preparing Your Workspace and Materials for Acrylic to Wood Bonding
Before diving into the glueing process, ensure a clean and well-ventilated workspace. Both the wood and acrylic surfaces should be free of dust, dirt, and any oils or residues that might compromise the bond. Clean them with a damp cloth and a mild detergent, allowing them to dry completely before proceeding.
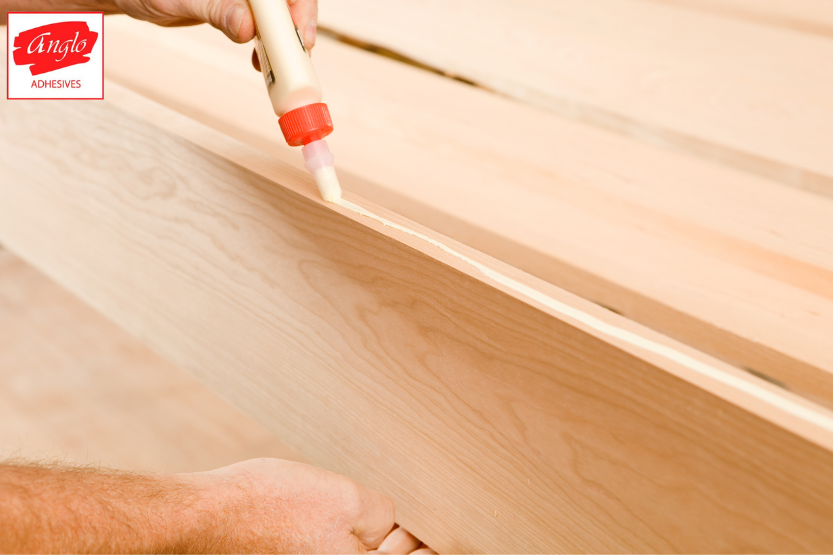
Applying the Acrylic Glue
When working with acrylic glue, remember that less is often more. A thin and even layer of glue is sufficient for a strong bond. Apply the glue directly to one of the surfaces to be joined. Using a toothpick or a craft stick can help ensure a controlled application, especially for intricate details.
Creating a Strong Acrylic to Wood Bond: Clamping and Curing
Once the glue has been applied, carefully position the wood and acrylic pieces together. Here’s where using clamps becomes crucial. Clamps apply even pressure throughout the curing process, ensuring a seamless and secure bond. Choose clamps appropriate for the size and shape of your project. Maintain firm, but not excessive, pressure according to the glue’s recommended curing time, which can typically range from a few seconds to several minutes.
Tips and Techniques for Acrylic to Wood Bonding
While the core process is straightforward, a few additional tips can elevate your acrylic to wood creations. For instance, if you’re working with larger pieces, consider applying the glue in sections to prevent it from drying prematurely. Additionally, if a slight gap exists between the wood and acrylic after clamping, applying a small amount of baking soda along the seam can help create a near-invisible filler.
Techniques for Layering Acrylic
The beauty of acrylic to wood projects lies in their ability to create depth and dimension. Here are a few techniques to consider:
- Multi-Layered Acrylic Pieces: Craft stunning wall art by adhering multiple cut-out shapes of different coloured acrylic pieces onto a wooden backing. Play with transparency and layering to create captivating visual effects.
- Wood Engraving with Acrylic Inlay: For a unique touch, use a craft knife or Dremel tool to create intricate designs on a wood surface. Carefully fill the engraved sections with cut-to-size pieces of coloured acrylic, creating a seamless inlay effect.
Finishing Touches and Safety Considerations for Acrylic to Wood Projects
Once the glue has fully cured and the clamps have been removed, you can proceed with any necessary finishing touches to your acrylic to wood project. This might involve sanding down any uneven edges or applying a sealant to the acrylic surface for added protection. When working with any adhesives, remember to prioritise safety. Keep the glue away from children and pets, and avoid inhaling fumes directly. Always work in a well-ventilated area.
Acrylic to Wood: A World of Creative Possibilities
With the knowledge and techniques outlined in this guide, you’re now equipped to explore the exciting world of acrylic to wood crafting with Anglo Adhesives! From creating stunning wall art with layered acrylic elements to crafting decorative signs with personalised wood engravings, the possibilities are endless. By using high-quality adhesives from Anglo Adhesives, a trusted name in the industry, you can ensure strong and lasting bonds for your projects. So, unleash your creativity, embrace the versatility of acrylic glue, and embark on your next acrylic to wood masterpiece with confidence!